Advanced Search
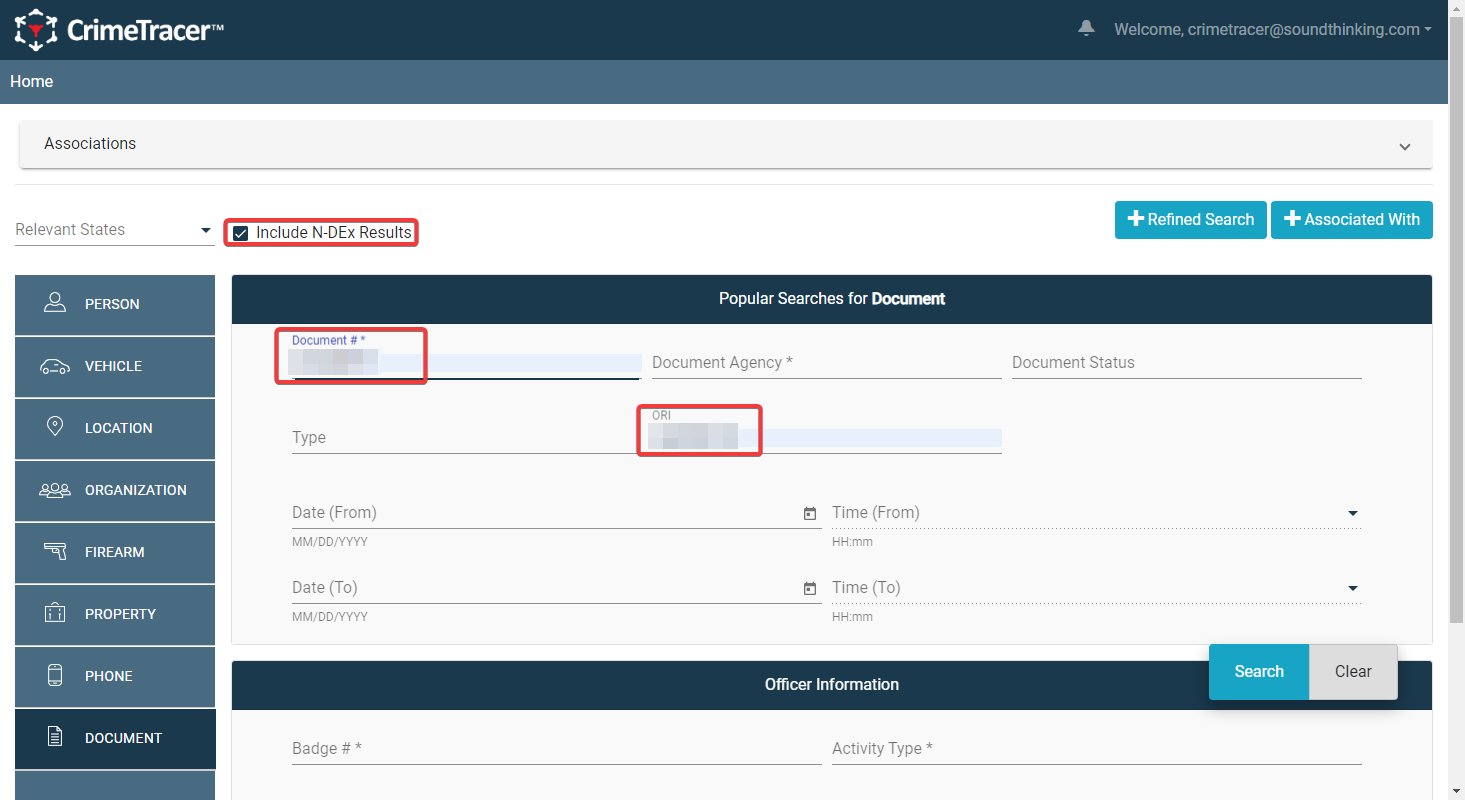
To get here, click the "Advanced Search" link below the search bar on the Quick Search page. This will allow you to do custom searches based on more specific criteria.
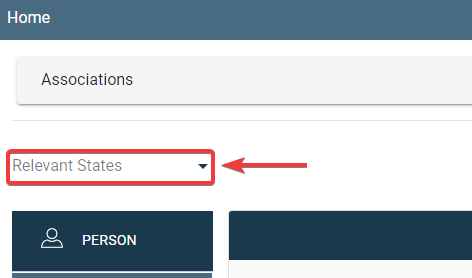
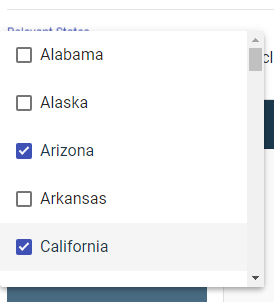
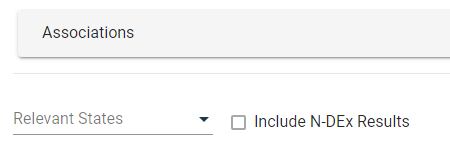
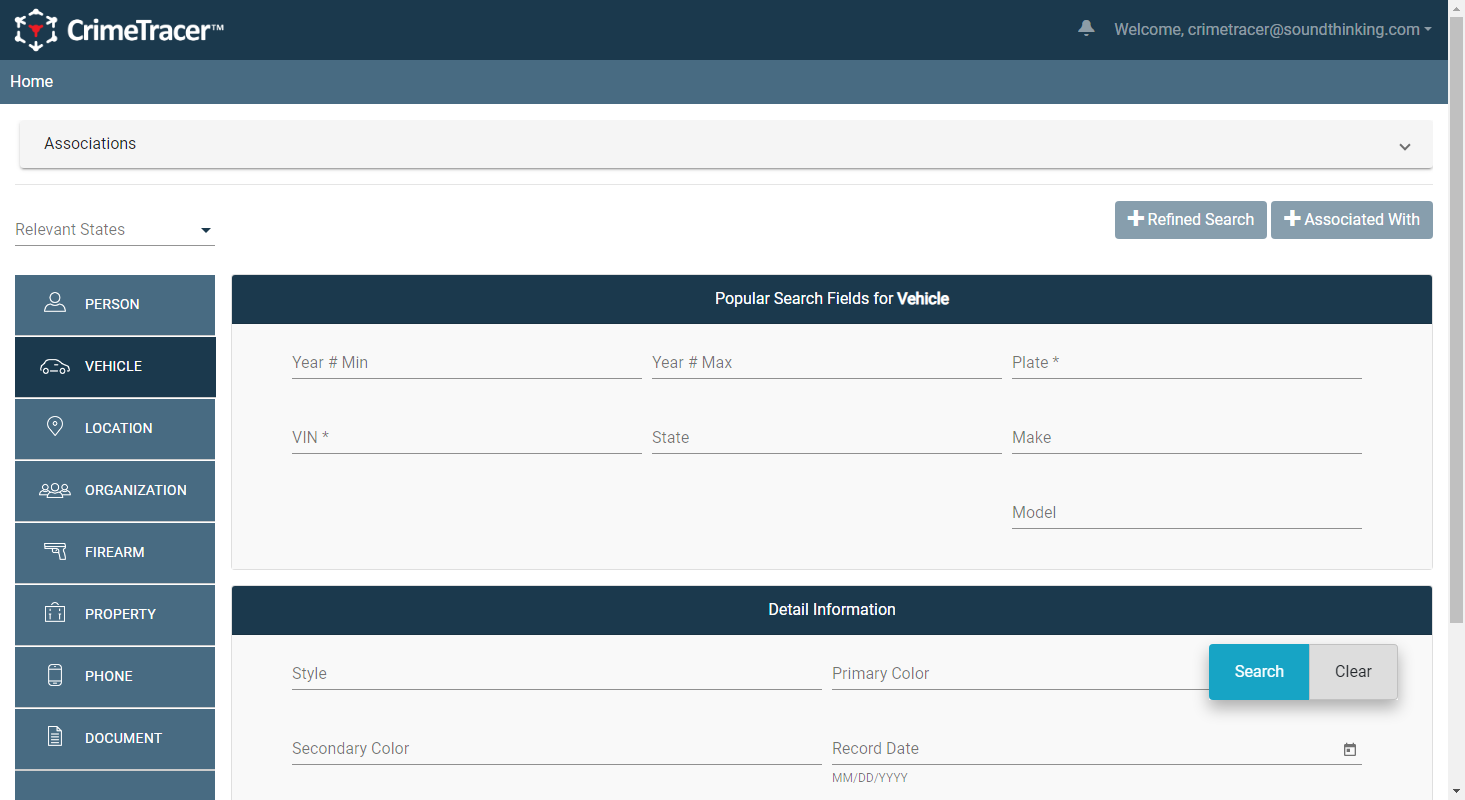
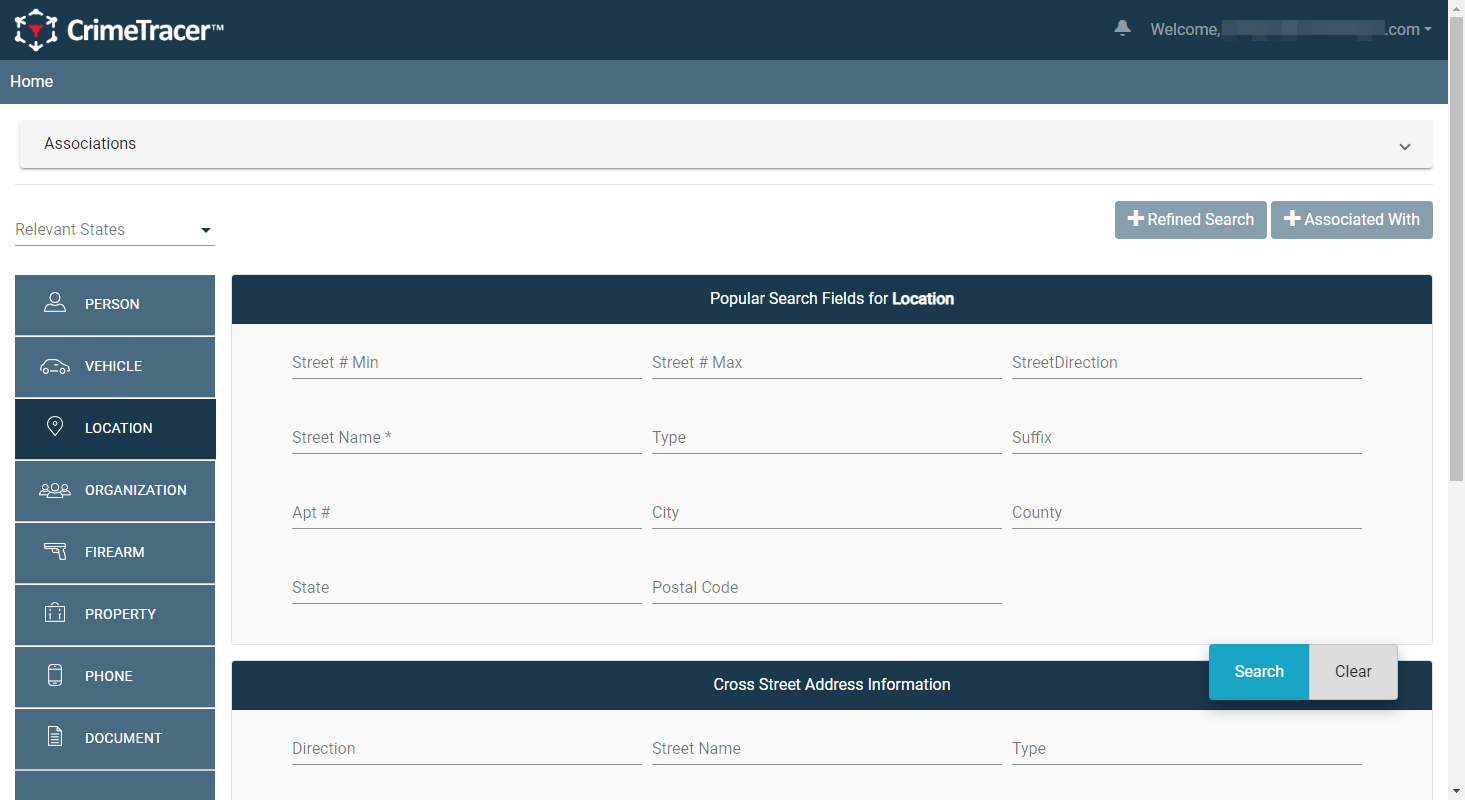
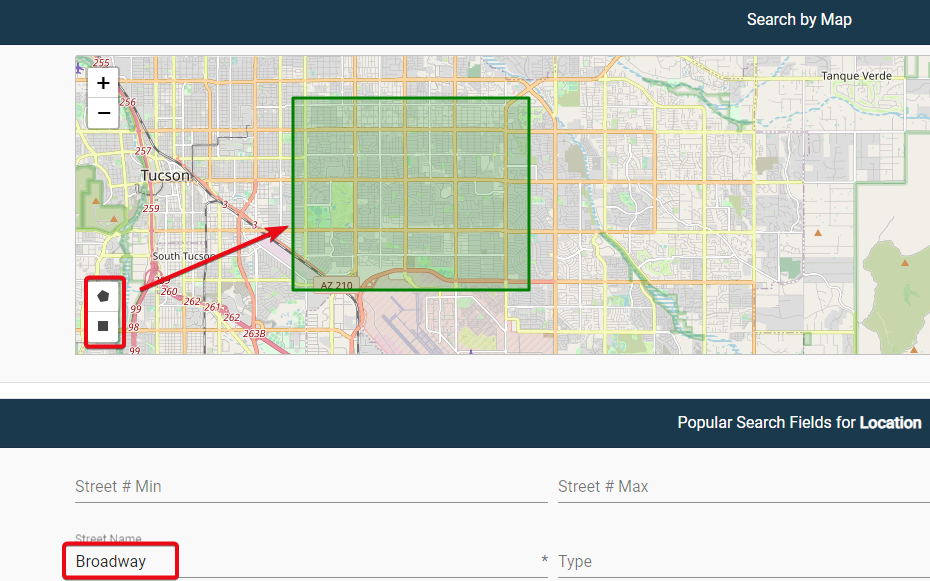
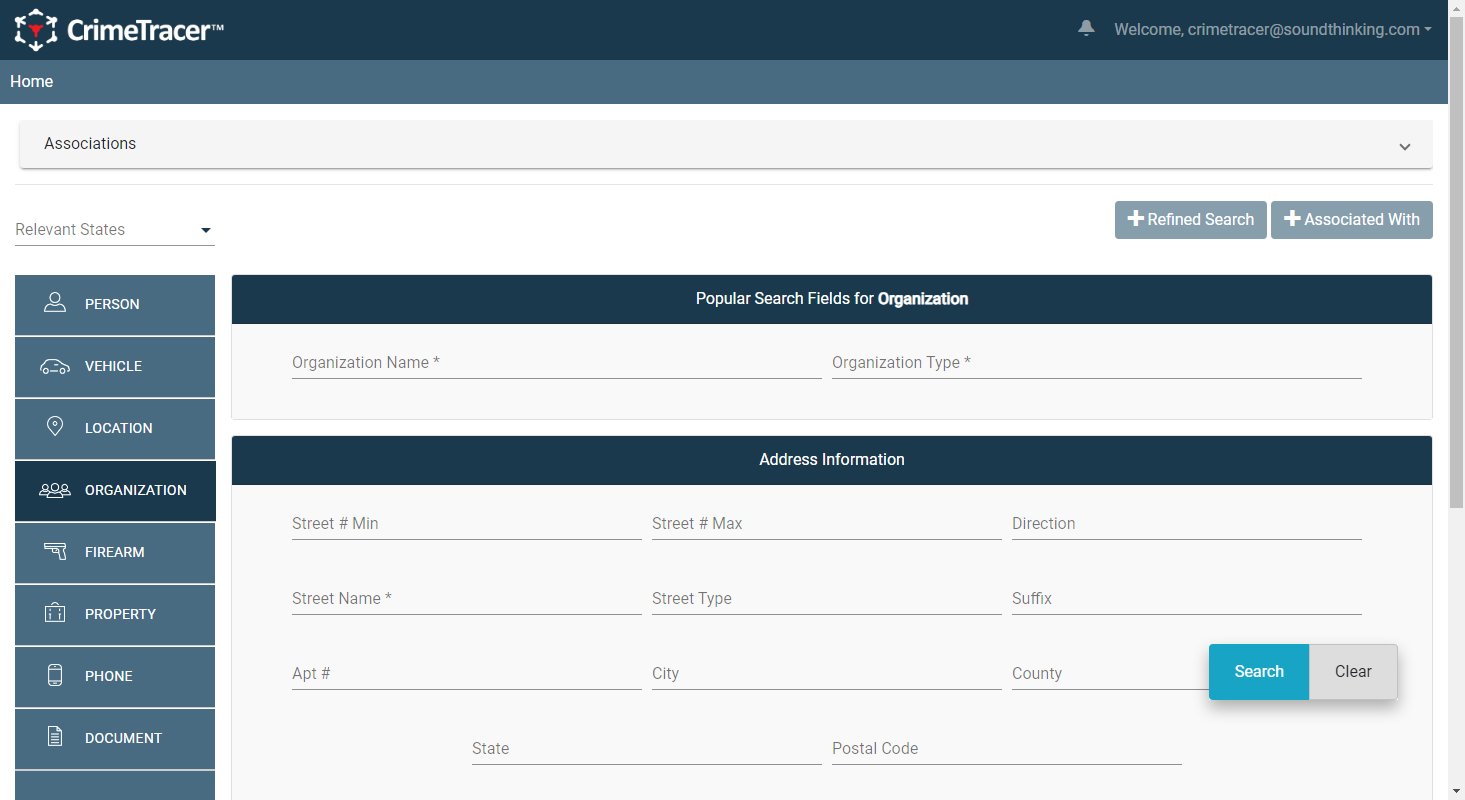
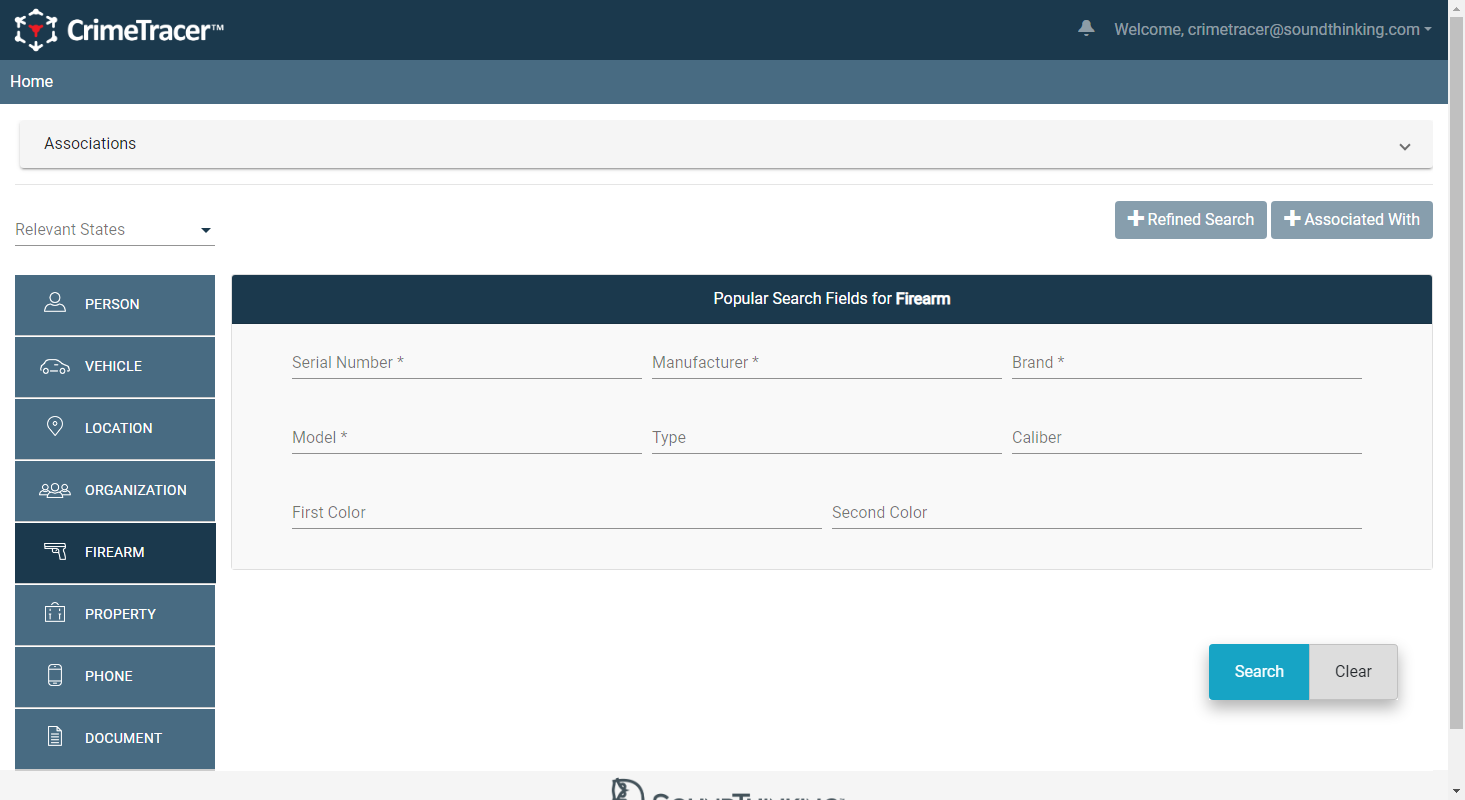
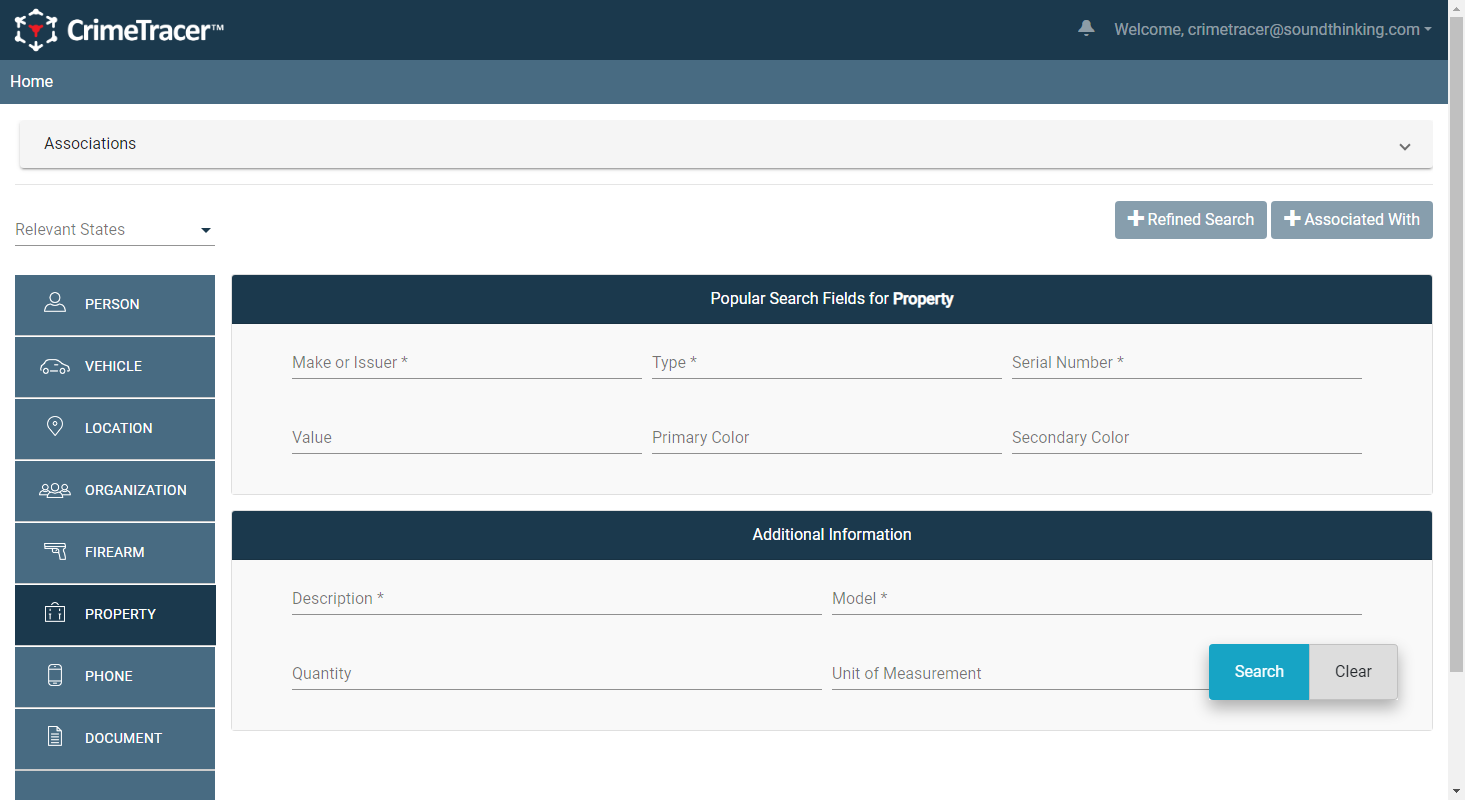
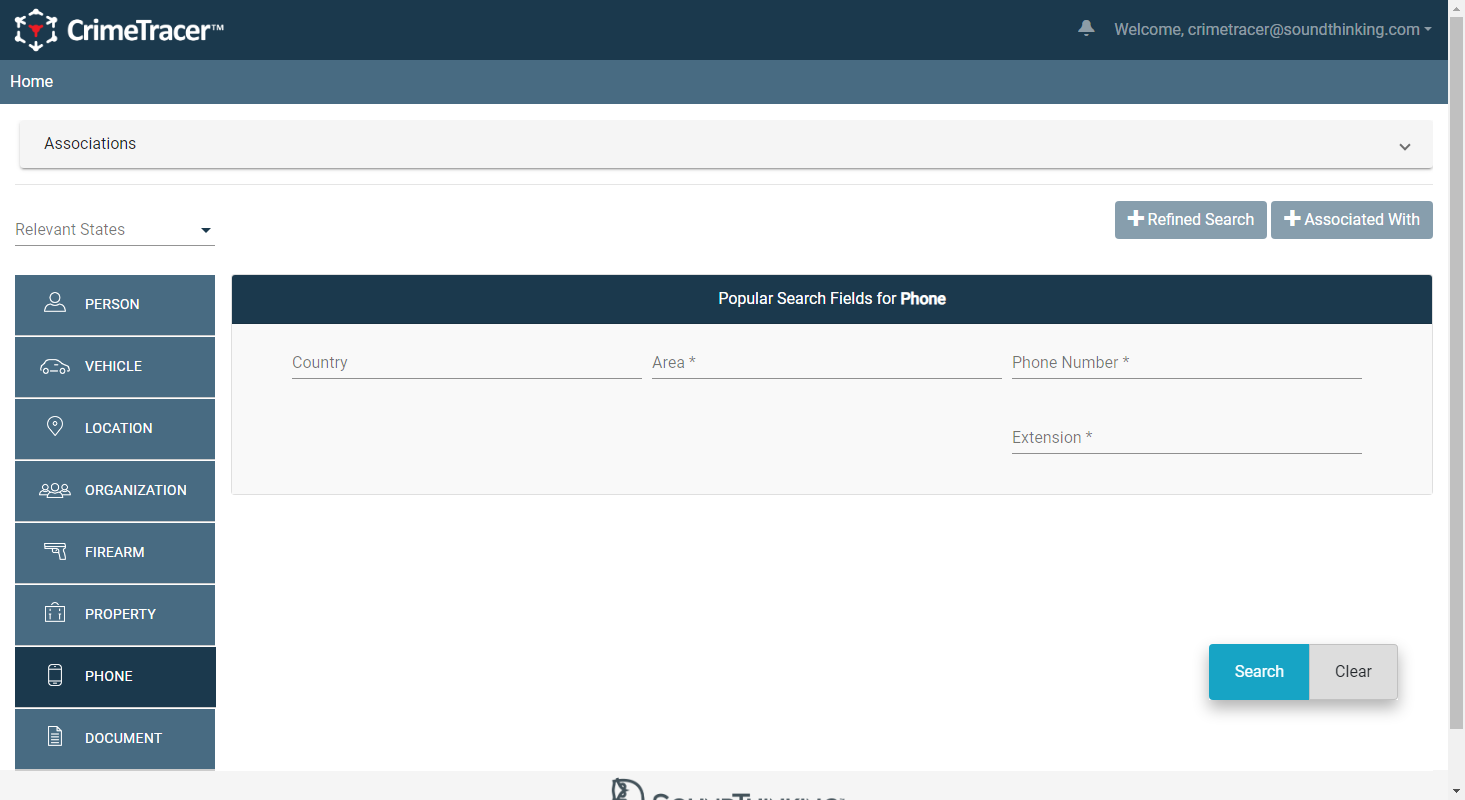
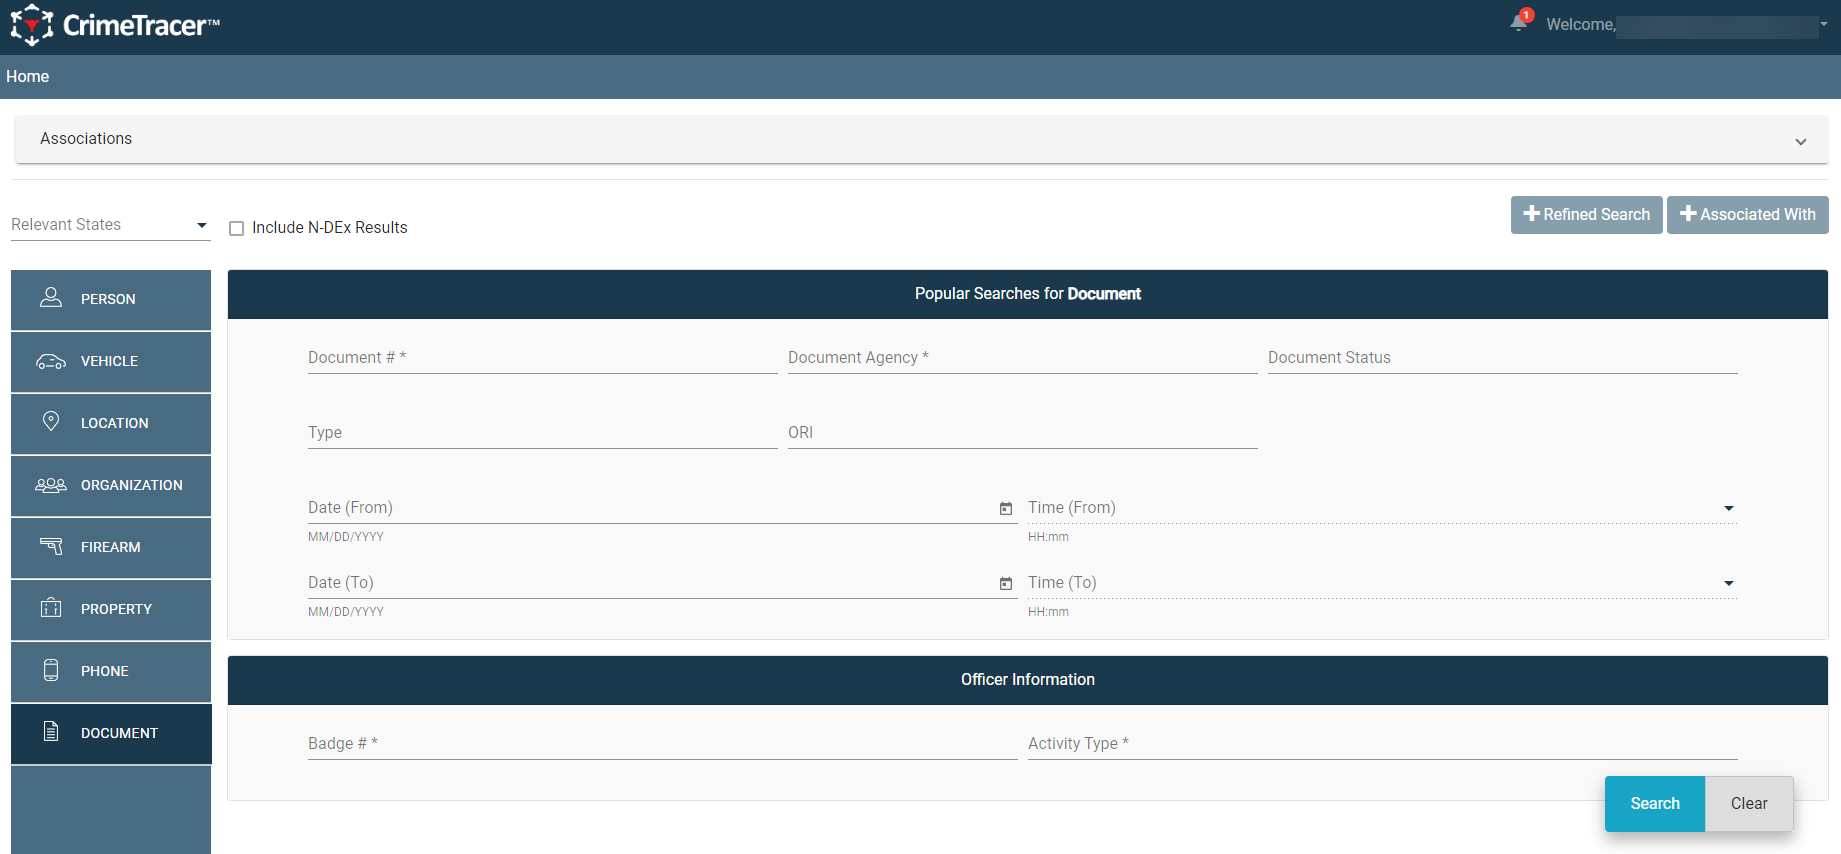
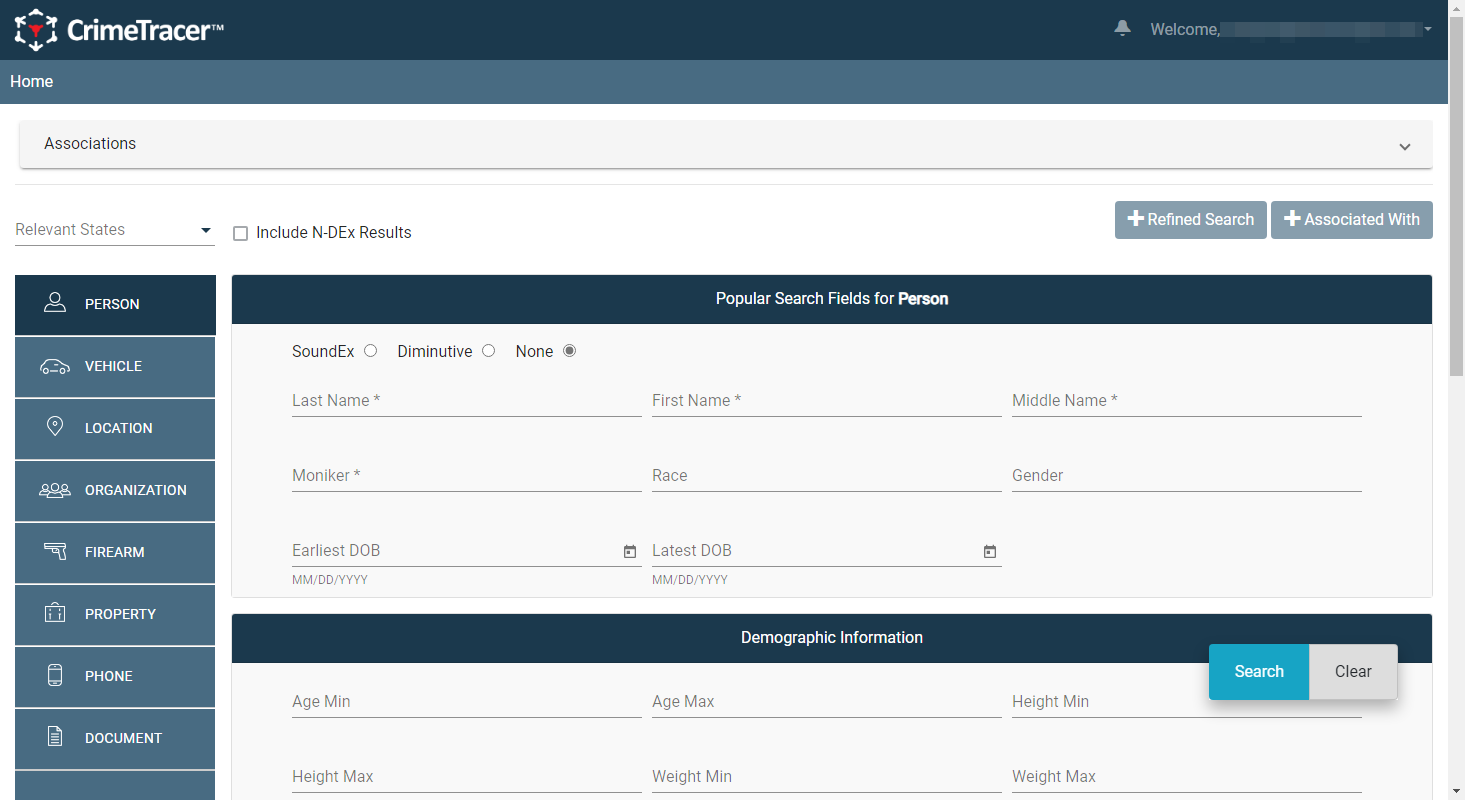
Searches can be filtered by "Relevant States" and customized to the entities available in the tabs — Person, Vehicle, Location, Organization, Firearm, Property, Phone, and Document.
The asterisks in a search field represent fields that will allow the use of * and ? for wildcards and | to represent OR searches. Hover over the * to see the Tooltip.
Advanced search only shows results based on your search criteria. For example, if you search for a brown-eyed male, 18 - 30, your result set will be limited to specific documents where a male has been identified as having brown eyes AND being 18 to 30 years old.
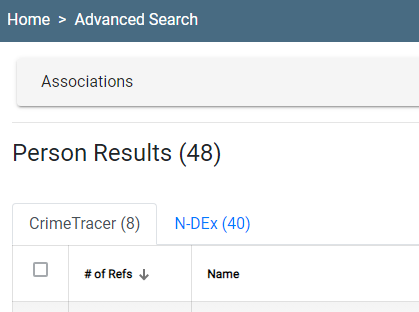
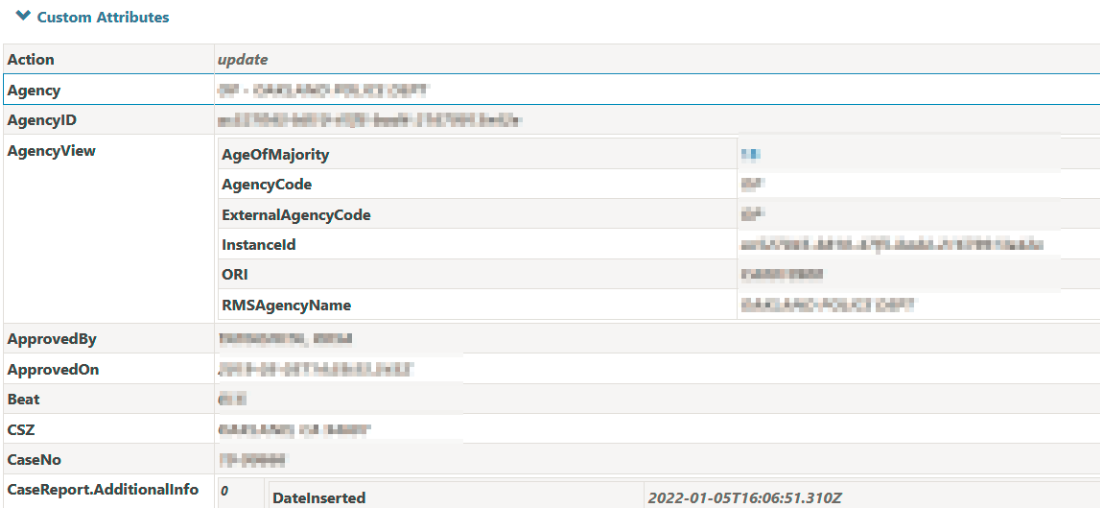
Each search is cumulative and each additional attribute will narrow the scope of the result set. Click on a result to see more detailed information as well as direct relationships with other entities.
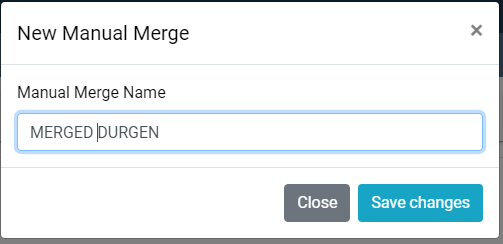
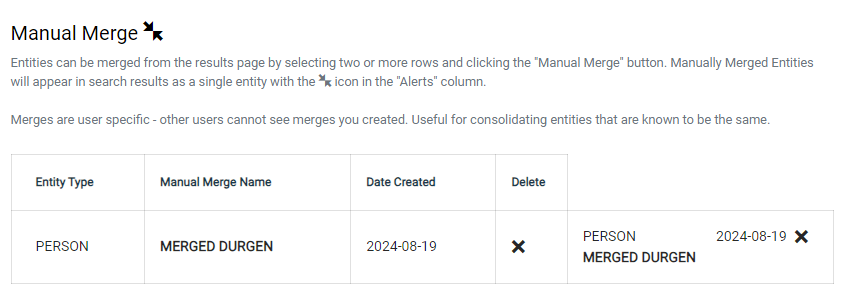
If one or more results are believed to be the same, you have the option to use Manual Merge to merge them into one.
To start a new search, use the Clear button to clear the form. Note that this will not affect selected Relevant States or the SoundEx option under Person Search. If you click the Clear All button in the drop down, all the fields in ALL entity tabs will be cleared.